Wednesday, April 20, 2011

Pine & Shimpaku growing bed

In an earlier post I made mention of putting some pines I had acquired into a
growing bed.
So I started to plant the new pines along with some shimpaku's .


The growing bed had to be plowed &
then raked.
The hole was dug then a tile was placed
at the bottom to keep the roots from
growing straight down. This encourages
the roots to grow horizontally.


After the tile is put in place a layer of
lava rock is put on top of the tile for
drainage,then then pine is planted on top
with a layer of soil mixed with compost.


It's time consuming & a lot of hard labor
but worth the effort.


Including the plowing & raking this is about a weeks worth of planting.


This is two weeks later


The bed consists of black ,red & some
white pines.


the pines will remain for several years
and will be pruned & groomed until
they are ready to be dug up.


The last two rows have shimpaku's
planted in the same manner.


some are this years cuttings & tiny
but they are rooted so I'm keeping my
fingers crossed.


Others are are larger but need to grow
more and get thicker trunks.
Will post on their progress as time
goes on.


Wax on ...........Wax off


Read more!

Spring color

I have been so busy with several projects this spring, that I haven't posted any thing.
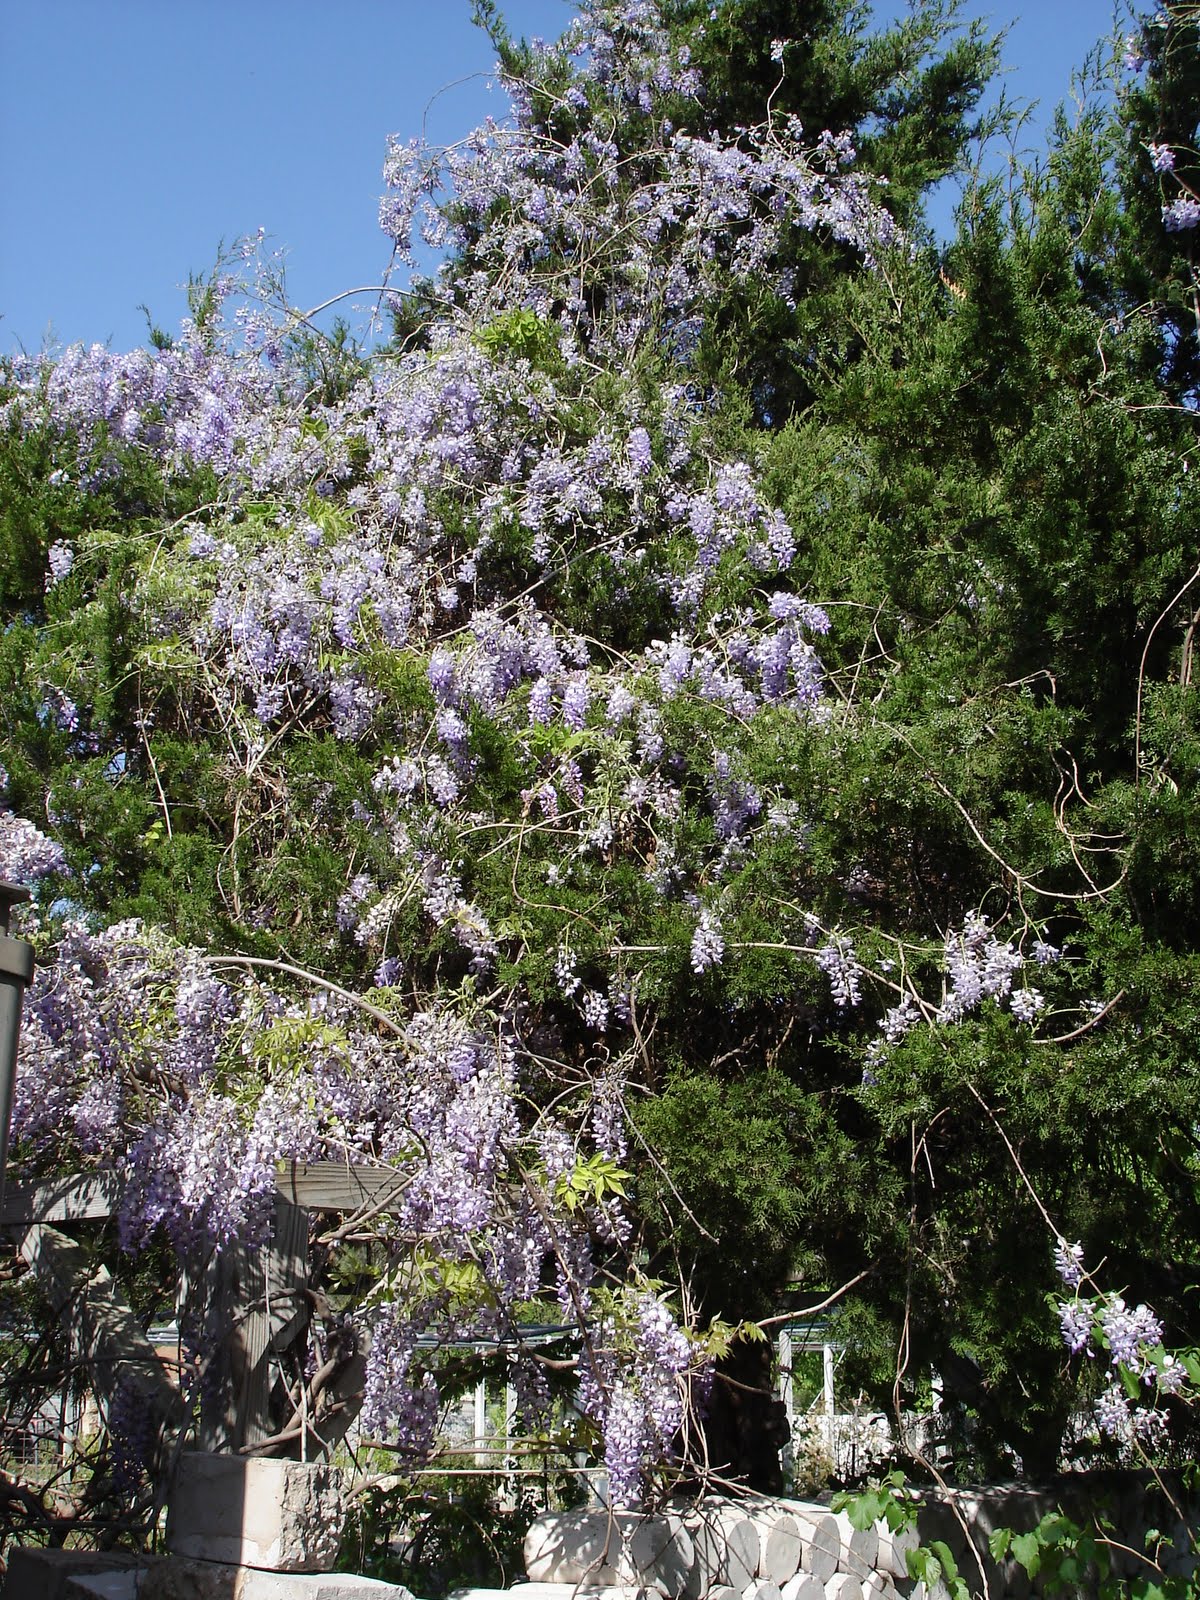
Spring has definitely sprung and color is every where!


This wisteria is located in the corner
of my nursery.


As you can see it has almost taken over the
eastern red cedar I'm going to have to prune
it pretty soon.


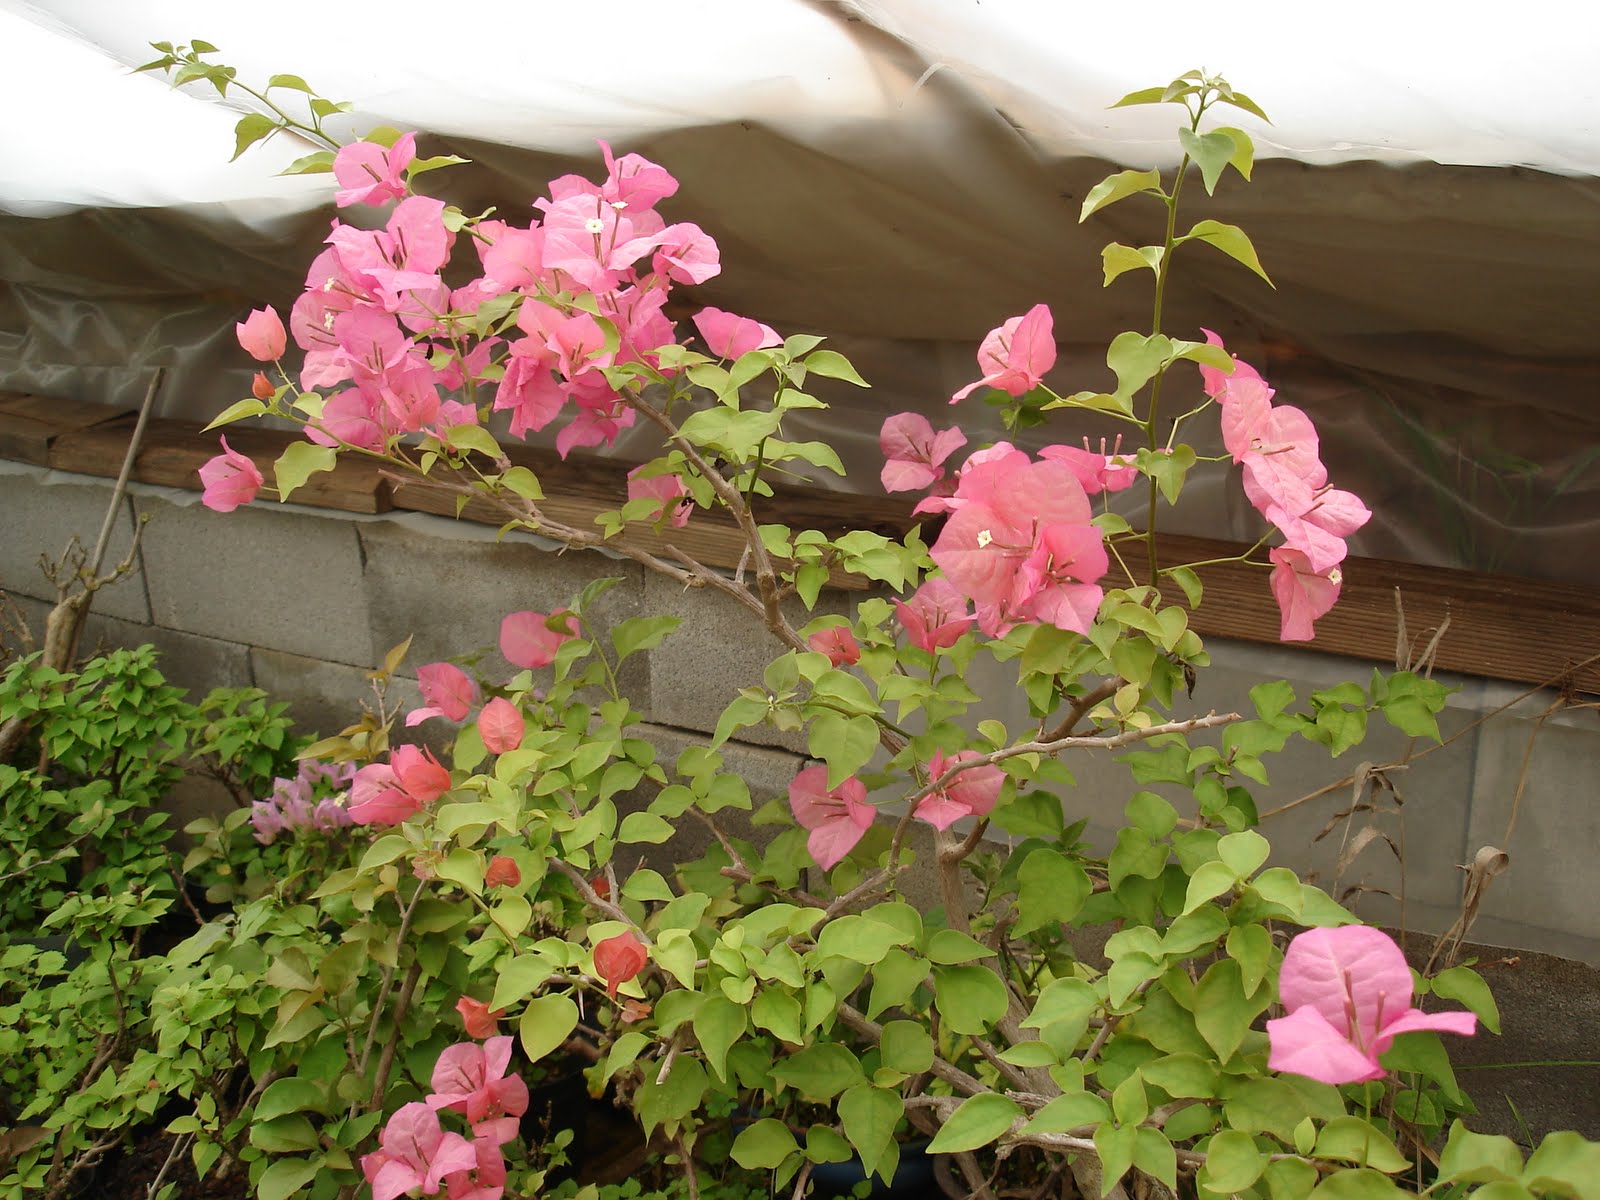
My bougainvillea is in full bloom


There are several shades of pink


a few lavender also.


My azalea is also in full bloom.

I just wanted to share the colors with you.


Wax on.......Wax off


Read more!

Saturday, March 26, 2011

new trees

This is some newly acquired trees. Some are black pines, some red pines & some
shimpaku's.


The majority of these trees will be put into a growing bed for a few yrs. to gain
some girth.


#1

black pine


#2

black pine


#3


red pine


#4


Red pine


#5

black pine


#6


black pine


#7


black pine


#8

black pine


#9

black pine


The rest of these are shimpaku junipers.


Read more!

Monday, March 21, 2011

Bob Castronovo


Hi Bob here are some pictures I'll send some more this eveing.


Read more!

Friday, March 18, 2011

Bob Castronovo

Hi Bob I was having trouble with my e-mail so I thought I would just send you the
pictures on my b
log. Just click on the pictures to get a closer view.


This is a boxwood


A zelkova


A privet


A Chinese elm


Another zelkova . If any of these meet with your
approval please let me know.
Read more!

Wednesday, March 2, 2011

Collected chinese elm

This is one of my chinese elms which I planted in a bed in my nursery about 8 to 10
yrs. ago.
After 4 yrs. I had vowed to dig them up but after finding my self to busy with other
things in my nursery. I always found that spring had past & I said "Oh well I'll dig them up
next yr." then next yr. Then next yr.......Well next yr. has finally arrived!!!!


This tripple trunk next to one of my cenmented
posts was my first choice to dig up.
I figured it to be one of the hardest to dig up.


I was right one of the roots was under
the cement of the post.


After much digging & cutting roots we were
able to lift the large root ball out.


After loading on a wagon I had to decide
which side to cut off.


After much thought I decide to cut the
right side off & also cut the top of the
remaining tree off.


This is the left side of the tree which had two trunks
& was cut off;you can clearly see the three trunks.


In this picture you can see where the cuts were made on the left & the top of the tree.


You can see the out line of the tree & also
the cuts that were to the massive root ball.


This is after it was potted up in my bonsai
mix consisting of lava rock ,compost,soil,worm
castings,llama-poo,& watered with root stimulator & super thrive.
There were very few roots left on this
tree wish me luck I hope it survives!!!!
I will post on this tree later.


Wax on.......Wax off


Read more!

Lakewood botanical society

On Tuesday March 1st. a meeting of the Lakewood Botanical Society was
held at the home of Mrs. Christie Davis. I would like to thank Mrs. Davis for inviting
me into her beautiful home & for being such a gracious host.
I would also like to thank Mrs. Karri Nicols for contacting me to make the
Bonsai program to the Lakewood Botanical Society.
I hope the program was enjoyable as well as informative & that it sparked
a keen interest Bonsai.


Ray talks about the many types of
Bonsai that are available.


Wax on .....Wax off


Read more!

Thursday, February 24, 2011

Repotting a collected elm tree

I made a new friend today, Jeff from Mississippi. He said he didn't have a lot of time ,he works in the oil industry in east Texas & he hadn't had a day off since around Thanksgiving & was on his way home. He has four days off & has to be back at work Monday.


Jeff is a relative newcomer to Bonsai & has previously bought some Bonsai, but he has discovered that collecting trees has some perks.
He saw my blog & decided to stop by. He want
ed some advice on some trees he had collected.
I was surprised to see the quality of the trees he had dug up. Since he was in a hurry we didn't have much time to talk. So if you read this Jeff call me or email at "rhbonsai@swbell.net"


Jeff gave me one of his trees he had dug up.
He said he often comes across trees around some of the oil well sites.
My wife thinks if you look at it real quick it
resembles a chimp.

This tree has had the main trunk cut & the resulting branches have become two trunks.


This is a close up of the tree, the
reason for the hand is because I had
already made the cut before I took the picture.


Well it doesn't resemble a chimp anymore!
I chose to keep the trunk on the left & cut off the one on the right.


It was a rather large chop to the
trunk. The scar will take up to 3 to 4
yrs. or more to heal over.
There wasn't very many roots but
as you can see the tree has started to
leaf out already.


The elm tree is potted up, wound sealer put on the scar & now it's left up to the tree to put out enough roots
to sustain it self.
I have added to the potting mix
worm castings,compost,root stimulator & super thrive.


The trunk I cut off has been potted up with
the same mix & ingredients as the main tree.
The block of wood is used to steady the
trunk because there are no roots to anchor it.


Basically this trunk is a cutting.
Although a cutting would usually be
about the size of the first branch on
the left of this trunk.
Elms are pretty resilient so I'm
hoping it will put out roots. I have had success with elms and trident maples
of this size before. wish me luck!
Will report on their progress
later.


Wax on.........Wax off


Read more!